
Pickleball is a fast-growing racket sport that combines elements of tennis, badminton, and ping pong. Playing pickleball requires a paddle-shaped racket to hit the ball over the net. Printing custom designs on pickleball rackets is an easy way to add flair and personalization to the game. UV printing produces vibrant, durable images directly on the racket surface. This guide covers the basics of pickleball rackets and the steps for printing custom racket graphics using UV technology.
What is a Pickleball Racket?
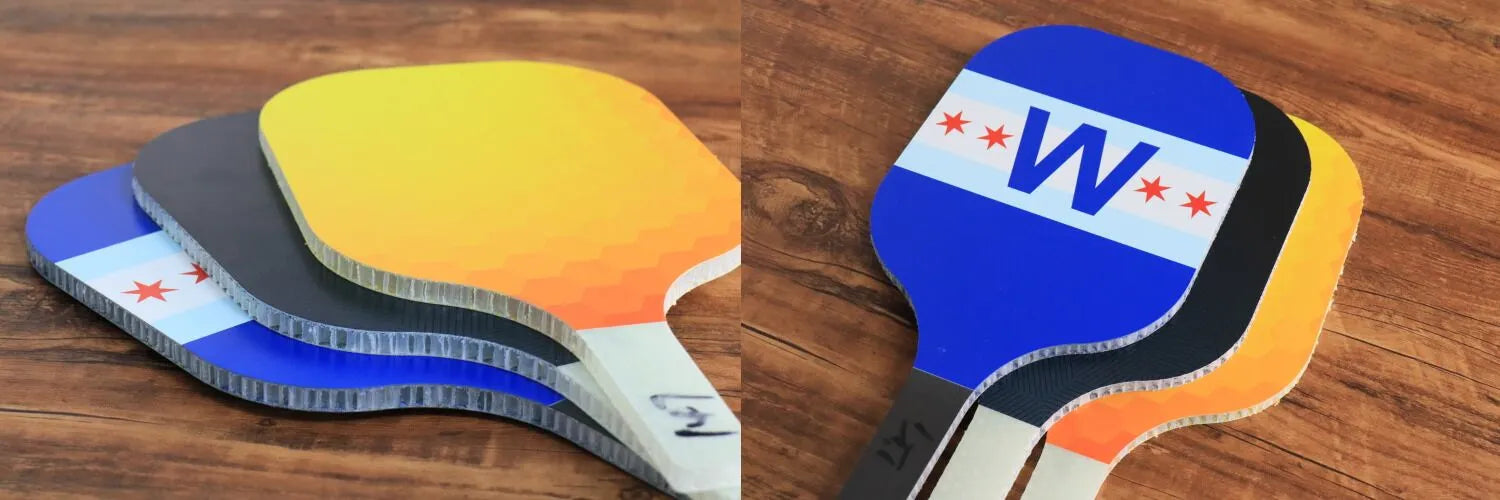
A pickleball racket also called a paddle, is made of composite materials like aluminum, graphite, or polypropylene plastic. It is lighter and smaller than a tennis racket, with a larger hitting surface. The average weight is around 7 to 8 ounces. pickleball rackets typically range from $30 for a basic wooden version up to $150 for a high-end graphite or composite racket.
The face of a pickleball racket has a rough, textured surface that allows players to apply spin on the ball. New rackets have a matte finish ready for custom printing. Printing vibrant designs on pickleball rackets is an easy DIY customization. Players of all ages enjoy expressing their unique personalities through printed imagery on their rackets.
How to Print a Pickleball Racket
Printing on a pickleball racket is straightforward with a UV flatbed printer. Here is a step-by-step process:

Step 1 – Prepare the Print File
Design your art in a raster image editor like Photoshop. The file dimensions should match the size of the racket print area. Make the image slightly larger than the racket print size, approximately 0.1 to 0.2 inches larger on each edge. This extra image area prevents leaving unprinted spaces in case the racket is slightly misaligned. Add a separate white layer in the file to print a white base ink. Save the finished design as a high-resolution TIFF.
Step 2 – Clean and Prepare the Racket Surface
Wipe the racket surface with isopropyl alcohol to remove any dirt and debris. Lightly sanding smoothes any rough spots on unfinished rackets.
Step 3 – Print Alignment Guide
Print a full bleed image of your design on the flatbed. This will print the outline of the racket shape. Use this print to visually align the actual racket in the correct position.
Step 4 – Print the Racket Image
Carefully place the racket face down within the outline from the alignment print. Secure it with low-tack masking tape. Load white and CMYK UV inks. Set the print height between 2-3 mm(Rainbow UV printers are all equipped with automatic height sensors for easy height setting). Send the print job and check the alignment as it prints. The white ink will provide a backing for the color image.
Step 5 – Finish the Racket
Allow the ink to cure fully. Peel off the tape. Clean it if necessary. Your custom-printed pickleball racket is ready for the courts!

Contact Us for Your UV Printing Needs
We hope this article provides useful information on printing custom pickleball rackets using a UV printer. If you are interested in purchasing a UV printer or creating your own printed projects, please contact Rainbowdgt. We are a professional UV printer manufacturer with over 18 years of experience. We offer a wide range of desktop to large format printers to meet any budget and printing need. Our team is ready to discuss UV printing solutions for any application. Reach out today to learn more!
